Add new sType
Register the sType
Registering a new sType or "Searchable Type" in TACTIC provides opportunity to track separate list of items. From a technical standpoint, a new sType is a separate table in the project’s database. This allows for the following configuration aspects:
-
Views
-
Custom Columns (properties)
-
Workflows processes and status
-
Notifications
-
Triggers
-
Tools
-
Security
-
…and more
To register a new sType, click the [+] button in the top-left of the configuration page. The Register a new sType wizard will appear:
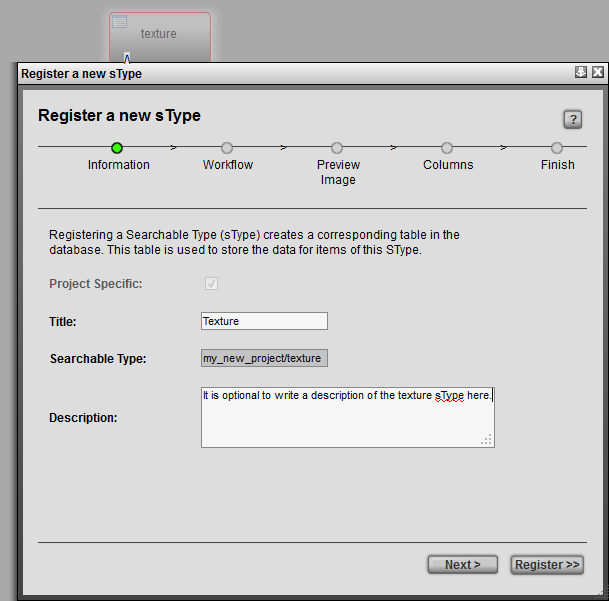
Information
Project Specific |
(available when creating a new sType for a project that is based on a template) |
Title |
The title for the sType is used in the UI for display purposes. |
Searchable Type |
Refers to the database name for the sType. in a "<project>/<name>" format. If no project is defined (i.e.. "art/") than the current project namespace will be used. |
Description (optional) |
An optional description of the sType. |
Once the fields are completed, press "Next" or press "Register" to complete the registration process. Note: It is recommended to go through the series of steps outlined in the "Register a new sType" wizard, as this allows for quick and easy configuration of the new sType that is outside of the TACTIC defaults.
Workflow

Items have a Pipeline? |
When selected, sets up an association for a pipeline workflow for the sObjects in that sType. The section below describes this relationship in more detail |
Process (optional) |
Stages in the process. eg. processes for an asset sType: design, model, texture, rigging eg. processes for a shot sType: layout, animation/fx, lighting, render, comp |
Preview Image

Preview Image (optional) |
Browse to select a preview image for the new sType. |
Columns

Include Preview Image? |
Preview image for each item (sObject) of that sType. |
Add Columns to sType (optional) |
During the registration process, default columns are added to the new sType table. You can also add additional columns during this process. Note - columns can be added after this process using the Table Manager |
Finish
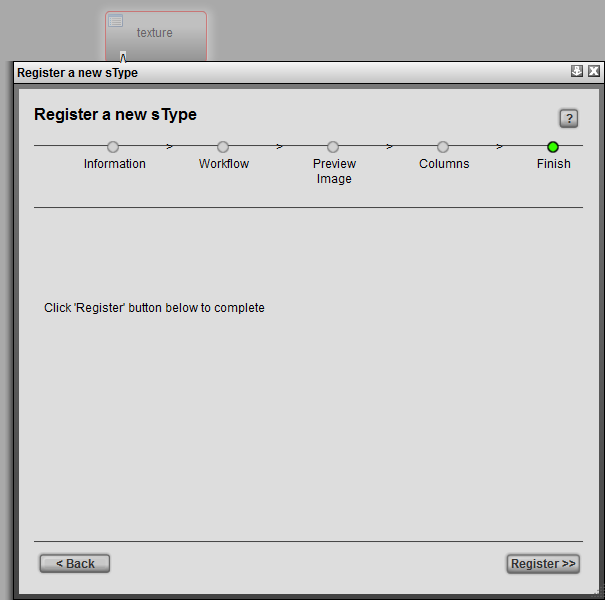
Finish |
To complete the registration process, press "Register". A this point, the option is provided to go back and change any information by clicking on the "Back" button. |